Always call an expert like Roofing Pros. But read this to know about our job
If you’ve lived in Canada for any length of time, you know that our climate can be quite harsh. Your roof is subject to strong sun, heavy downpours, frequent wind, heavy snow, and harsh cold weather . For this reason, we carefully consider what type of roof you have, exactly where you are located, and what specific elements your roof is exposed to. We will let you know which type of roofing is best based on your home’s characteristics.
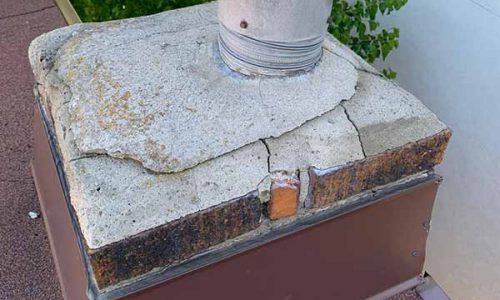
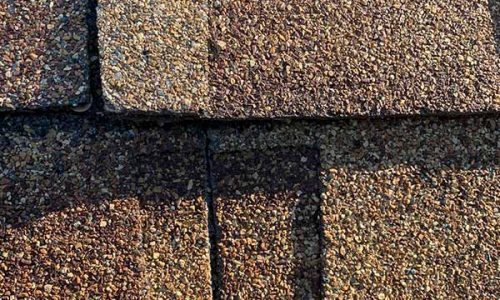
After any kind of storm, homeowners should always take a quick look at their roof to ensure that the shingles remain intact and undamaged. If damage is discovered, homeowners should know how and where to find some expert roofing company like Roofing Pros.
They need to be replaced, or the roof area covered, to prevent water damage to the supporting roof structure and leaks inside.
Most of our roofing shingles are the GAF brand. We do carry other brands, as well. The reason we like GAF is that they have various options, including a limited lifetime warranty and different safety features on some of their products. They have several different colors and styles available, too, which allows for some customization depending on the style and appearance of your home.
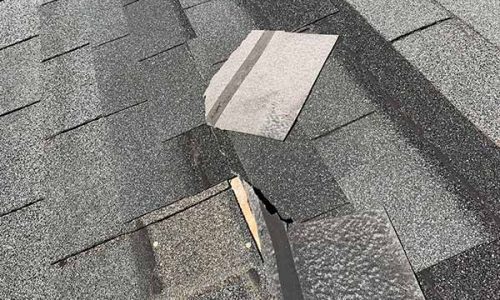
Torn, broken, or rotten shingles should be replaced. Start by lifting the edges of the old shingle and removing nails with a nail puller or pry bar. Slide the shingle free and be careful to remove any dried on roof cement. If your shingles have been blown off in a storm, you will still need to remove remaining nails. Next, you can slide the new shingle under the remaining shingles and align it according to the surrounding shingles. You will need to fasten then new shingle with galvanized roofing nails at each of the top corners of the shingle. Next, cover nail heads with roof cement and then cover the top of the shingle with the overlapping, original shingles. You can use a bit more roof cement to attach the old shingles to the new one.
STEP 1:
Using the pry bar, remove the damaged shingle and old nails that may be still attached to the roof. If the shingle is missing altogether, remove any debris or remaining nails. Generally, there are four nails: two holding the missing shingle and two holding the one above it that penetrate the shingle below it. Remove those temporarily as you slide the new shingle into place. Do not place a new shingle overtop old nails; this can puncture the new shingle.
STEP 2:
Slide a new shingle under the one above it, taking care not to damage or displace the existing shingles. You may need to remove the shingle nails of the shingle above it in order to create a secure attachment. Replace the existing shingle and nail into place, and replace the nails in the single above it.